
Setting up a waiver kiosk at your front desk is one of the highest-impact changes you can make to your check-in operation. Customers walk in, sign on the screen, and move on — no staff involvement, no paper forms, no pen hunting. The signed waiver is stored instantly in the cloud, attached to the customer’s profile, and backed by a legally compliant audit trail.
With OtterSign, the entire setup takes under 30 minutes. This guide walks through everything — hardware recommendations, the three kiosk modes, Digital ID card setup, offline mode, and what to do if you’re working with older hardware or an Android tablet. Whether you’re setting up a single kiosk at a shooting range, a fitness studio, a camp, or a multi-location operation, this covers exactly what you need to know.
Hardware: What Device Should You Use?
The short answer is Apple. OtterSign’s kiosk app is available in the App Store and runs on iOS 26 or higher. Any iPad running a current iOS version will work reliably — and since Apple supports its devices with software updates for many years, most iPads purchased in the last several years are eligible. If you’re buying new hardware specifically for a kiosk setup, any current iPad model will work out of the box.
For older iPads that can’t update to iOS 26, you don’t need to replace the device. Instead, open Safari or Google Chrome on the iPad, navigate to your OtterSign web signing link, and use “Add to Home Screen” to save it as a web app. Then enable Guided Access in iOS settings to lock the device into kiosk mode so customers can’t navigate away from the signing screen. This web app workaround is fully supported, stable, and works on older hardware without any App Store installation required.
Android tablets work with OtterSign as well. However, because Android device configurations vary significantly across manufacturers, OtterSign doesn’t guarantee performance on every Android model. The recommended approach for Android is to test the kiosk app on your specific device first. If the app doesn’t perform as expected, the fallback is to run OtterSign through Chrome in the same web app configuration described above for older iPads. For a permanent front desk kiosk installation, Apple hardware is the most reliable choice and the one the OtterSign team recommends.
For the kiosk stand itself, there are a wide variety of countertop and floor-standing iPad mounts available. The specific brand matters less than the stability and tamper-resistance of the mount — look for a stand that secures the iPad firmly, keeps charging cables managed neatly, and positions the screen at a comfortable signing height for your customers.
Installing the OtterSign Kiosk App
On a supported iPad, open the App Store and search for OtterSign. Download and install the app. When you open it for the first time, tap the three-dot menu in the top-right corner and select “Sync to Organization” to connect the app to your OtterSign account. From that point, your documents, branding, and settings sync automatically to the kiosk.
To keep the app current, periodically check the App Store for updates. The current version is 20.08. Running an outdated version is the most common cause of kiosk issues, so keeping the app updated is the single most important maintenance step for a smooth kiosk operation.
The Three Kiosk Modes — and When to Use Each
OtterSign’s kiosk app offers three distinct modes, each designed for a different check-in scenario. Understanding the difference helps you choose the right configuration for your business — and most operations end up using more than one.
Signature Mode
Signature Mode is the default mode and the most versatile. Use it when your customers need to sign custom PDF documents — legal waivers, membership agreements, or any multi-signature form. The mode displays the actual PDF on screen for the customer to review and sign. It requires an active internet connection and produces a secure digital record of every signature. If you ever experience issues with the other modes, Signature Mode serves as a reliable fallback.
Express Sign Mode
Express Sign Mode is the mode most OtterSign customers use for day-to-day waiver collection. It’s optimized for speed and works well in high-volume environments. Rather than displaying a full PDF, it presents a streamlined form that customers complete quickly. It also supports offline signing — making it ideal for events, outdoor locations, or any setting where internet connectivity is inconsistent. Waivers signed offline are stored locally on the device and sync automatically to the cloud when the connection is restored. Express Sign Mode also supports photo ID capture and automatic profile creation, with customizable brand colors and required fields.
Check-In Mode
Check-In Mode is designed for returning customers who already have a valid waiver on file. Instead of completing a full form again, the customer simply enters their phone number or scans their Digital ID QR code at the kiosk. OtterSign’s AutoSign feature checks whether their waiver is current — if it is, check-in is complete in seconds. If the waiver has expired or the customer is new, the full signing flow appears automatically.
This mode is particularly valuable for membership businesses, shooting ranges, fitness studios, and any operation with a high percentage of repeat visitors. Consequently, it dramatically reduces check-in time for returning customers while ensuring compliance is never skipped.
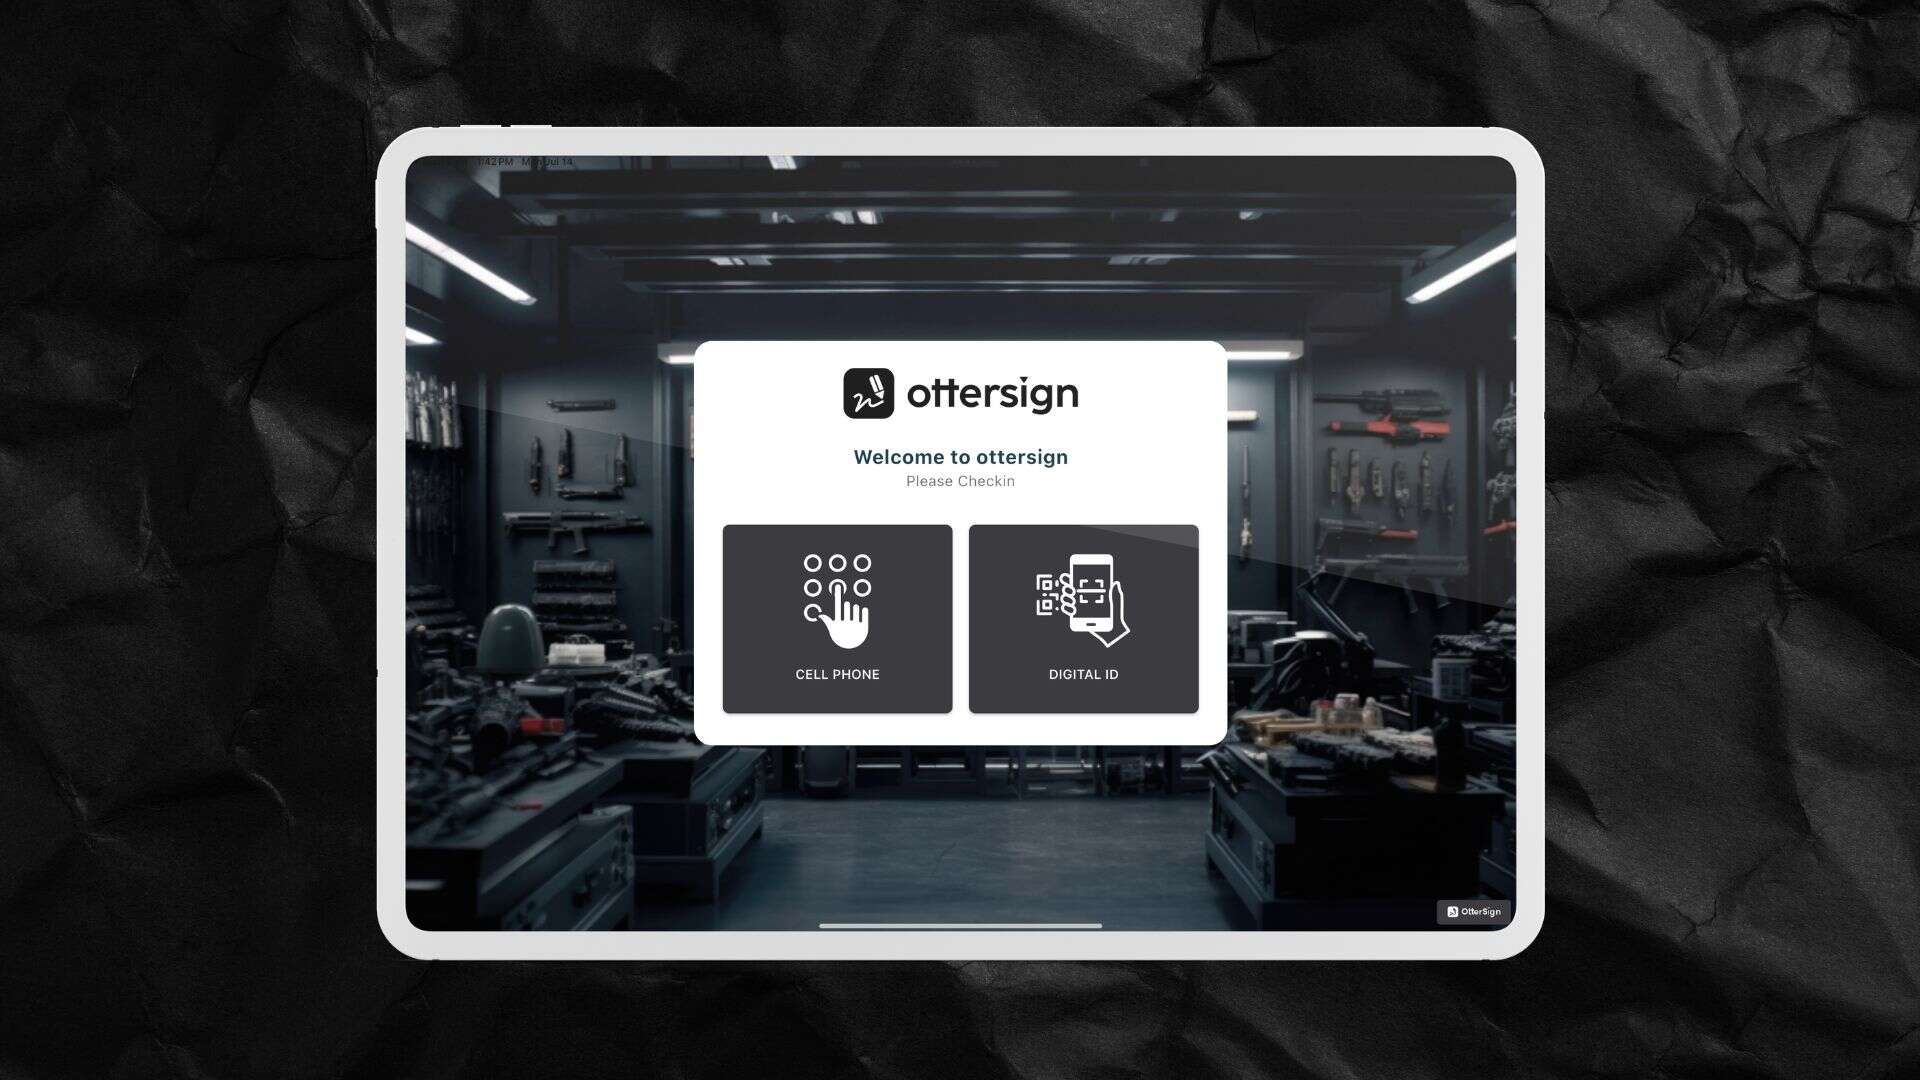
To configure Check-In Mode, go to your OtterSign dashboard, click your name in the top right, navigate to Settings, then the Kiosk section. From there you can select your default document, customize the interface with your brand colors, background image, welcome title, and button text, and save. Sync the kiosk app when finished and the updated design appears on the device immediately.
Setting Up Digital ID Cards
Digital ID Cards take Check-In Mode a step further by giving each customer a personalized QR code they can store on their phone and scan at the kiosk for instant check-in. They’re particularly useful for members, annual pass holders, and frequent visitors who check in regularly.
To set up Digital ID Cards, go to Settings in your OtterSign dashboard and navigate to the ID Card section. Activate the feature, then click Edit to customize. Upload your business logo, name the card — for example, “Annual Membership Card” or “VIP Pass” — and link the waiver or agreement that will always be associated with it. Set an expiration timeframe and configure automated reminder notifications so members receive a heads-up before their card expires — for instance, 30 days, 7 days, and 1 day before the expiration date.
Once a Digital ID Card is configured, issuing it to a customer takes seconds. Find the customer on the Check-In screen, click their name, and click “Verify ID.” OtterSign sends the customer their personalized Digital ID Card automatically. From that point forward, they scan the QR code at the kiosk and check-in is complete without typing anything.
It’s worth noting how OtterSign handles ID scanning. When a customer scans a government-issued ID at the kiosk during check-in, OtterSign reads the barcode on the back of the ID to pull the encoded information — name, date of birth, and other required fields — and uses that data to populate the waiver automatically. No photo of the ID is taken or stored. This approach protects customer privacy, avoids unnecessary data security liability, and keeps the platform’s compliance footprint clean.
Locking the Kiosk Screen
To prevent customers from navigating away from the signing screen, OtterSign has a built-in kiosk lock. Tap the OtterSign logo in the bottom-right corner of the app and enter your PIN to lock the screen. To unlock it, tap the logo again and enter the PIN. This keeps the kiosk focused on the signing flow and prevents accidental or intentional exits from the app during a busy check-in period.
For the web app version on older iPads, use iOS’s built-in Guided Access feature to achieve the same result. Enable Guided Access in Settings under Accessibility, then triple-click the home button while the OtterSign web app is open to lock the device into that screen.
Offline Mode
For events, outdoor operations, or locations with unreliable internet, OtterSign supports offline waiver signing on Apple devices. To enable it, connect the iPad to Wi-Fi, open the OtterSign app, tap Settings in the top right, find the “Try Beta” option, and toggle offline mode on. It’s important to complete this step while connected — offline mode must be activated before leaving the internet connection.
Once enabled, the app syncs all necessary data to the device. You can then take the iPad offline and continue collecting waivers as normal. Signed waivers are stored locally and sync automatically to the cloud when the connection is restored.
There are two limitations worth noting. First, PDF documents uploaded to OtterSign are not available for offline signing — only forms built inside the platform work offline. Second, offline mode does not support the USCCA plugin. For the vast majority of waiver collection use cases, neither limitation affects the day-to-day operation.
Troubleshooting: If the Kiosk Isn’t Working
If you run into issues with the kiosk, work through these steps in order before contacting support.
First, test the web signing link on a separate device — a phone, tablet, or computer. Complete a test waiver and confirm it saves in your OtterSign dashboard. If the waiver saves correctly on the separate device, the issue is specific to the kiosk app rather than your account or document configuration. If the waiver doesn’t save on the separate device either, the issue is at the account or configuration level and isn’t related to the kiosk hardware.
Second, check that the iPad is running iOS 26 or higher. Go to Settings, then General, then About to find the iOS version. If the device is below iOS 26, switch to the web app workaround described earlier in this guide.
Third, confirm the OtterSign app is on the latest version by checking for updates in the App Store. An outdated app version is the most common cause of unexpected kiosk behavior and is almost always resolved by updating.
If all three checks pass and the kiosk is still not working as expected, contact OtterSign support at ottersign.com with the iPad model, iOS version, app version, and a description of the issue.
The Bottom Line
A waiver kiosk is one of the simplest operational upgrades a business can make — and with OtterSign, the setup genuinely takes less than 30 minutes. The hardware is straightforward, the app configuration is intuitive, and the three kiosk modes cover every check-in scenario from a first-time visitor signing a full waiver to a returning member scanning their Digital ID for a two-second check-in.
Beyond the operational improvement, every signature collected through the kiosk is legally compliant, backed by a 30+ point audit trail, stored permanently in the cloud, and automatically attached to the customer’s profile. That’s not just a faster front desk — it’s a meaningfully stronger compliance and liability position than any paper form or basic waiver platform can provide.
Start your free 14-day trial today — includes 100 free credits. Your kiosk can be live before the end of the day.
👉 Start Your Free Trial | Book a 15-Minute Demo | Try a Live Waiver Demo
Related reading: Digital Waivers for Shooting Ranges | Are Digital Waivers Legally Binding? | OtterSign Pricing | OtterSign Features | GooglePlay App


